From Phone to Internet: Harnessing Your Nokia as a Modem in Ubuntu
According to the title, how can you turn your Nokia phone into a modem? The method is quite simple. Before that, it should be noted that I am doing this on Ubuntu 16.04 LTS.
I should also mention that the phone I am using in this tutorial is the Nokia Asha 210/v 06.09/RM-924, or the dual SIM version of Nokia Asha.
Clearly, there is a place to connect the USB cable that you often use now (Android), and there is a Modem Mode option when you plug the USB cable into your phone.
For now, as far as I know, the modem network for this Nokia Asha phone does not support H/H+; it only supports 3G/3.5G. I have not investigated this further with Mbah. If you want to check again, you can just ask Mbah.
Alternatively, you can click the link below (for the Nokia Asha model 210) to check the model by dialing *#0000#
Materials and Tools
- Data SIM card (with a data package)
- USB cable
- Laptop/Computer
- Nokia Asha 210
Here, I am using SIM1 as the data access for the modem (to change this, you can adjust it in the SIM Manager)
First Step - Creating a Mobile Connection
Connect the USB cable to your Nokia and to your Laptop/Computer. In the USB Mode menu, please select Modem Mode.
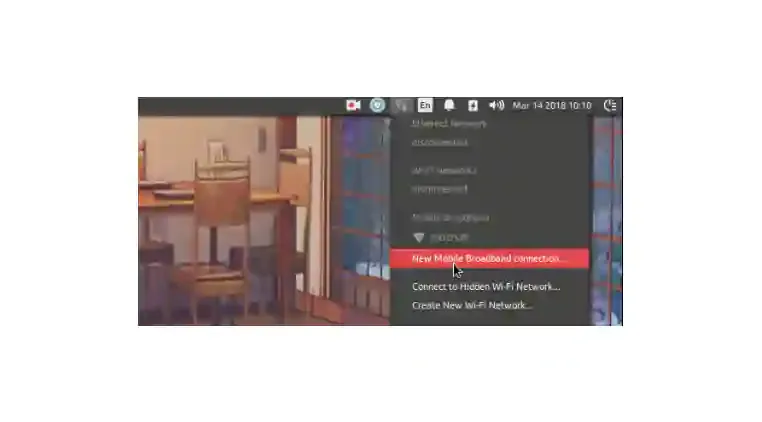
Then, in Mobile Broadband, the provider you are using will appear. Please click 'New Mobile Broadband Connection.'
Second Step - Setting Up the Mobile Connection
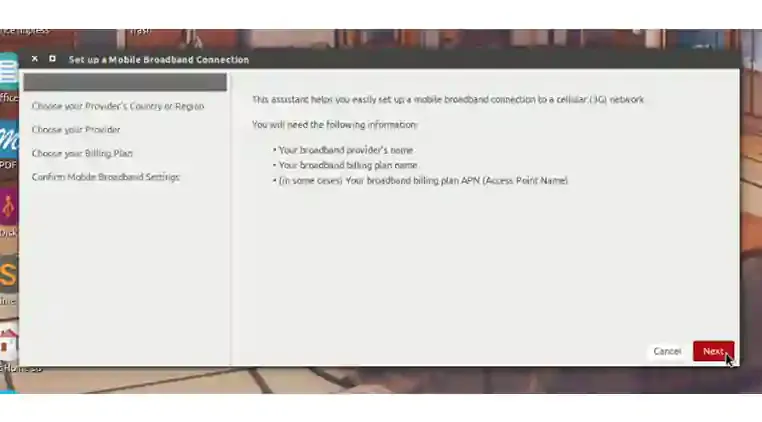
A prompt will appear with the option 'Set up a Mobile Broadband Connection.' Please click Next.
Third Step – Selecting Country Options
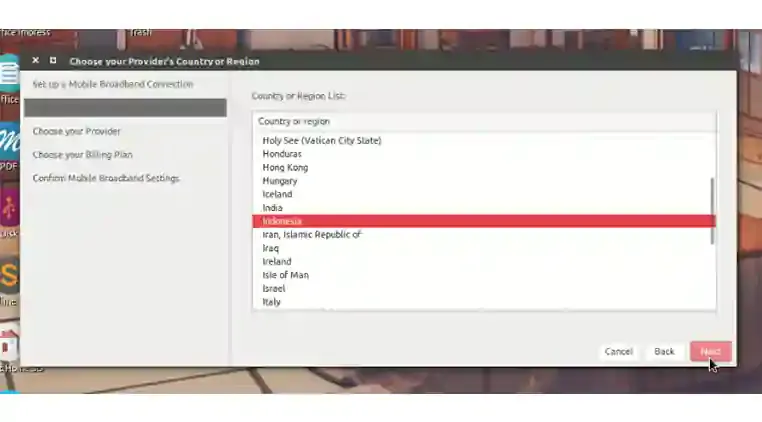
‘Choose your provider’s country or region’ please select one of the countries where you currently reside. I chose Indonesia and clicked Next.
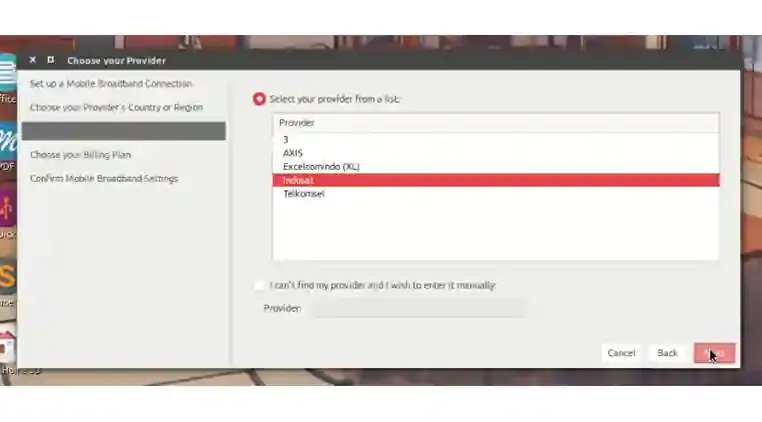
The Fourth Stage - Choose a Provider
"Choose your provider" - Please select one that appears and matches what you are currently using, then click Next.
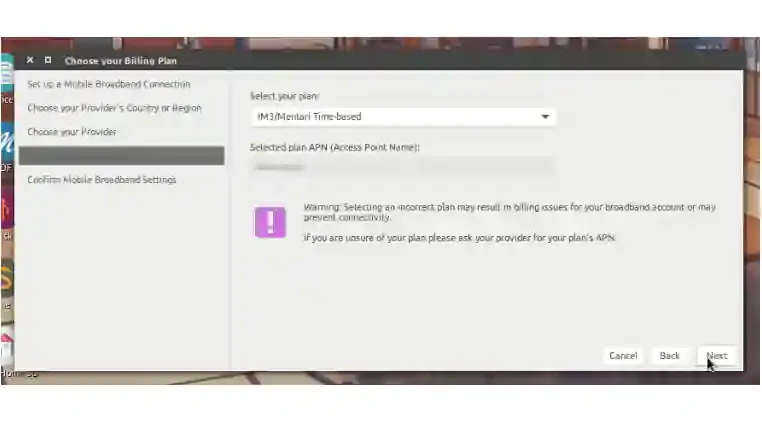
Fifth Stage - Choose APN
"Choose your billing plan" - Please select an APN. You can use the default APN or choose your own (Note: you can use a free internet APN. XD Although it might be a bit slow, it's understandable since it's 3G, boss, haha). Then proceed by clicking Next.
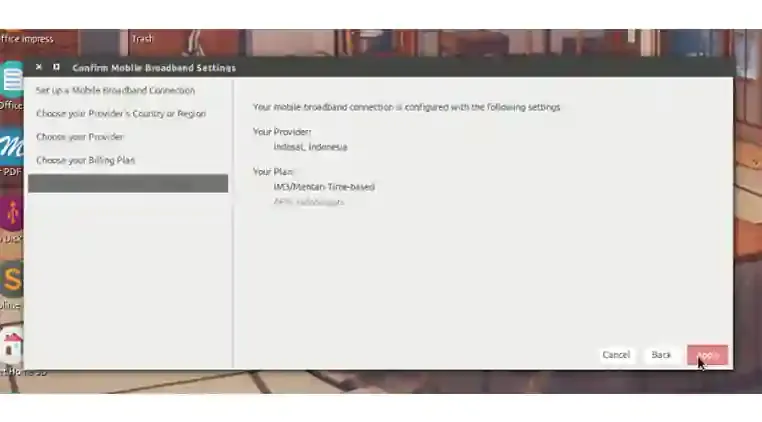
Sixth Stage - Confirm Settings
Here, you are only asked to confirm your settings. If you feel there is an error, please adjust it accordingly. If there are no mistakes, please click Apply.
Seventh Stage - Select the Created Connection
Please click on the modem network that we created earlier.
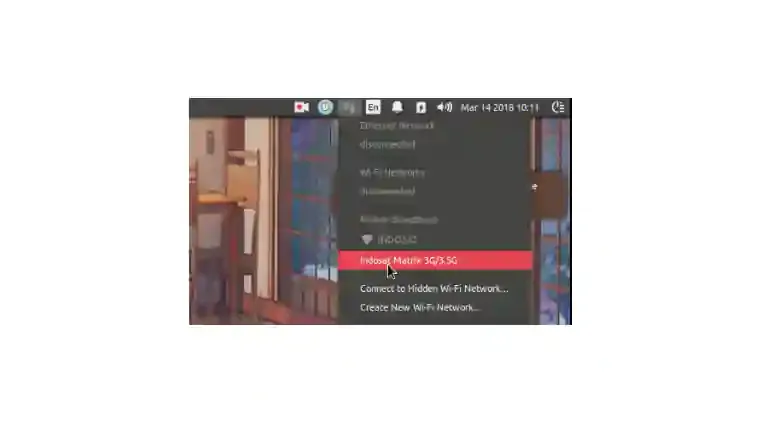
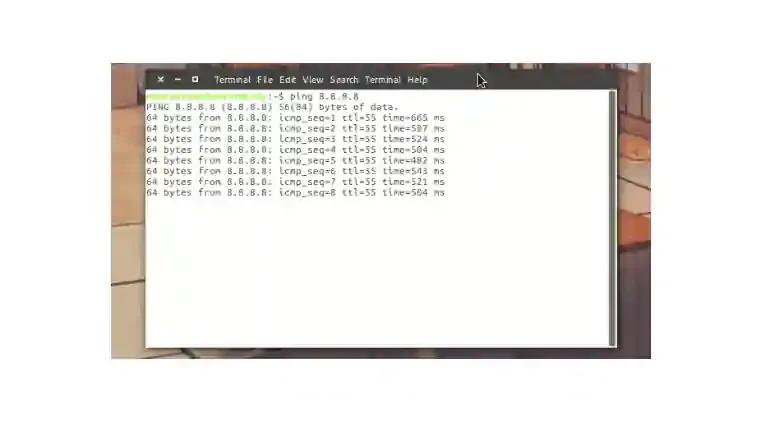
Example Result
If all your steps were correct and successful, it will look like the image below.

Next Steps
Now, feel free to go online, although in my opinion, it can be quite slow. However, there's no harm in trying it out first.
XD By the way, I’d like to share a piece of wisdom! I plan to include one or two quotes in each article, hehe. If there are any errors that might cause misunderstandings, I will correct them to ensure clarity.
"Humans are more advanced or intelligent when they feel threatened by extinction."
reference:
https://www.mantankode.net/2018/03/menggunakan-nokia-sebagai-modem-di.html